“Linear” Product Imaging
featured,Photography,Studies
Visual Accuracy in Product Photography
If your client and their customers are happy then there’s no need to read any further. However, if the creeping feeling that the colors in your images are slightly off then follow along. I found this workflow to improve dynamic range and visual accuracy. The secret is a more direct and mathematical relationship between light and your displayed image.
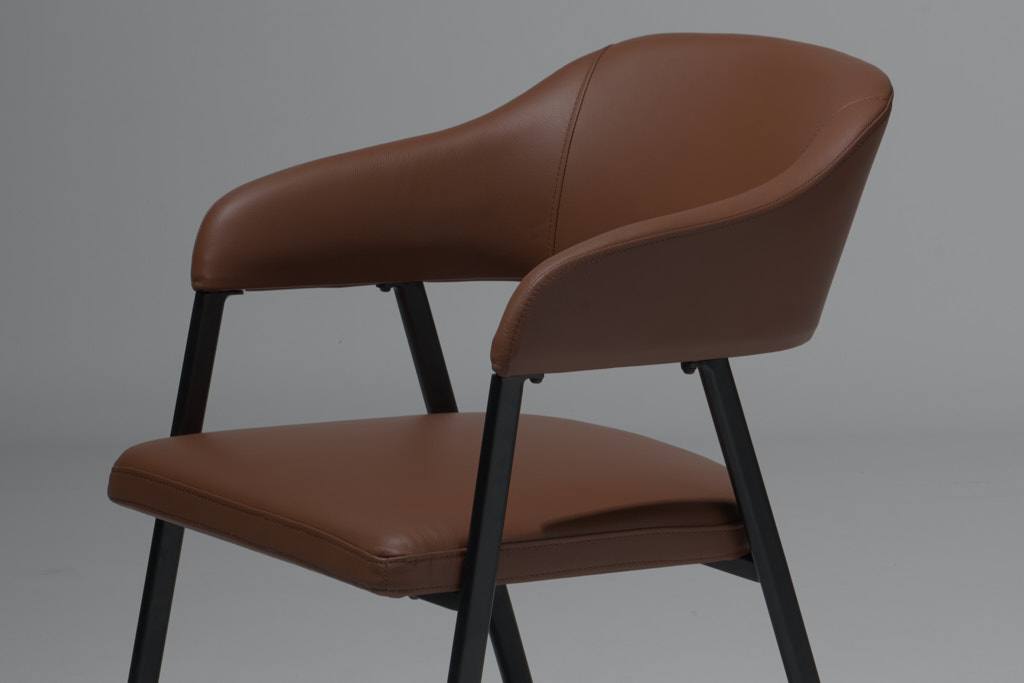
Most default corrections from the camera and imaging software tend to make photos a little more appealing by adding contrast and saturating color. Additionally, default camera profiles have a tendency to push color toward warmer or cooler areas of a color model. As seen here:


If you want to avoid the above, try this:
Start by utilizing an sRGB (or DisplayP3) color profile on the monitor you’re tethered to. In your imaging software, select a linear curve and avoid preliminary color corrections from the camera or software. Checkout the previous post for further explanation.
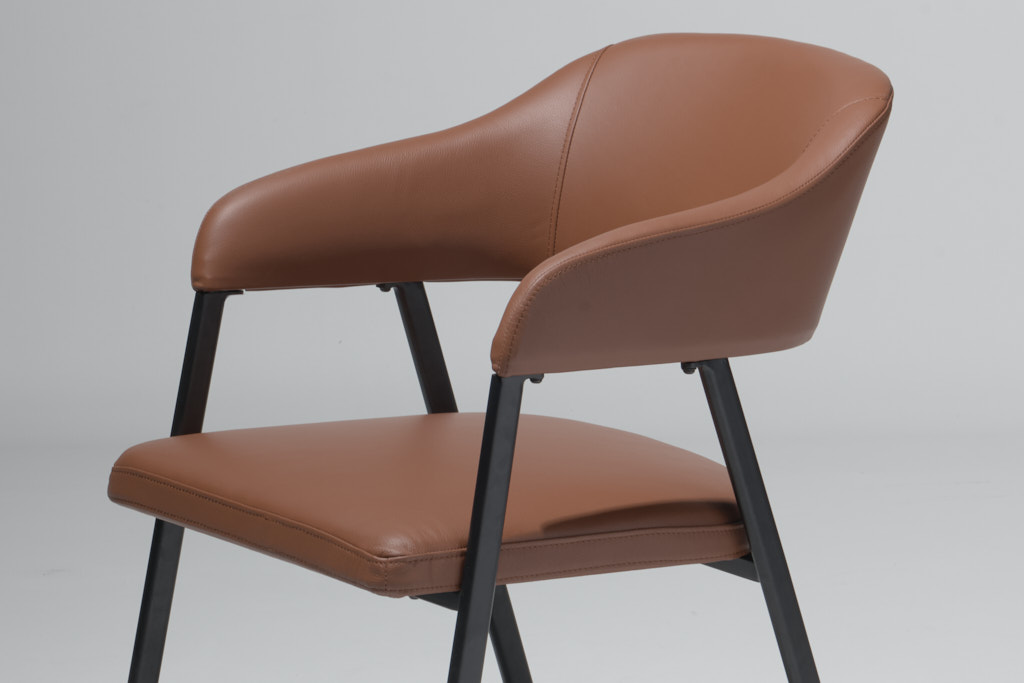
What this does is provide you with an uncorrected or unprocessed image. Though, the image is not actually uncorrected. The software is doing its best impression by reversing processes from the camera and preventing itself from creating further post-processes. The image you see should appear underexposed and really flat.
Working this way can be tedious. Double check your exposure meter and adjust settings throughout your shot list. Expose each shot anywhere between -1 and 0 and you should be fine. That usually keeps blacks from crashing, whites from clipping, and stacks up the rest of the data nicely.
If you can, work from two monitors. Set your main monitor to sRGB and secondary monitor to Display P3. Images will never look perfect on both, err on the side of sRGB. This way, you can see how adjustments in an sRGB gamut will affect neighboring tones. Just in case.
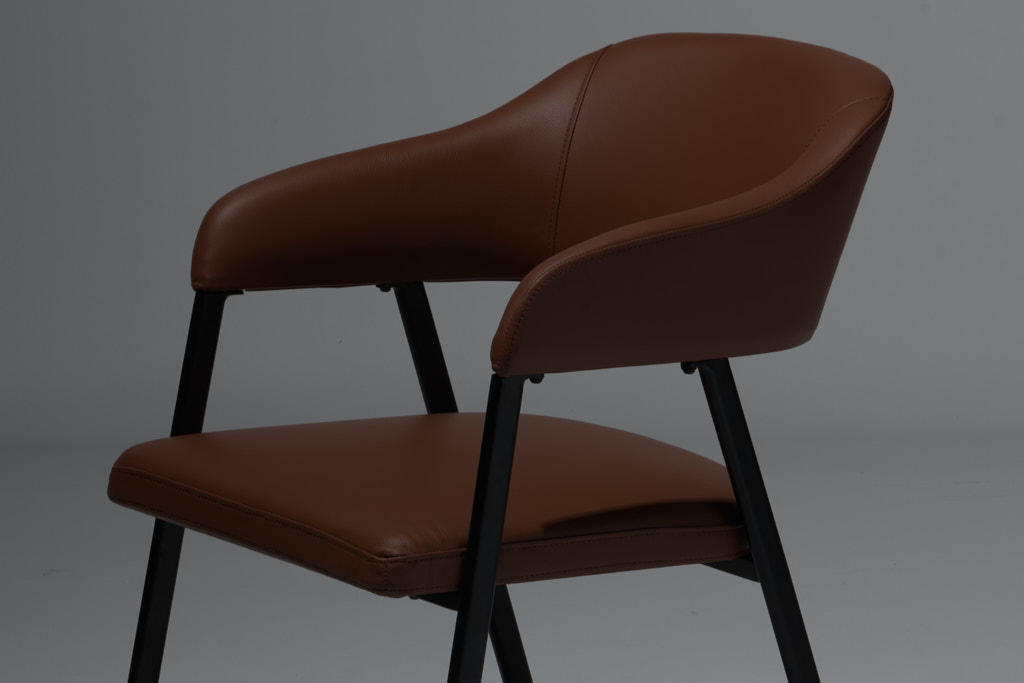
Now we can “process” the image manually. Starting with the luminosity curve, create something liken to a non-linear logarithmic curve. Something around input 63 and output 100, or right before the whites start to clip. This is the main “correction” and repairs it to a “display linear” image. From there, make edits with a typical s-curve to create a non-linear image.
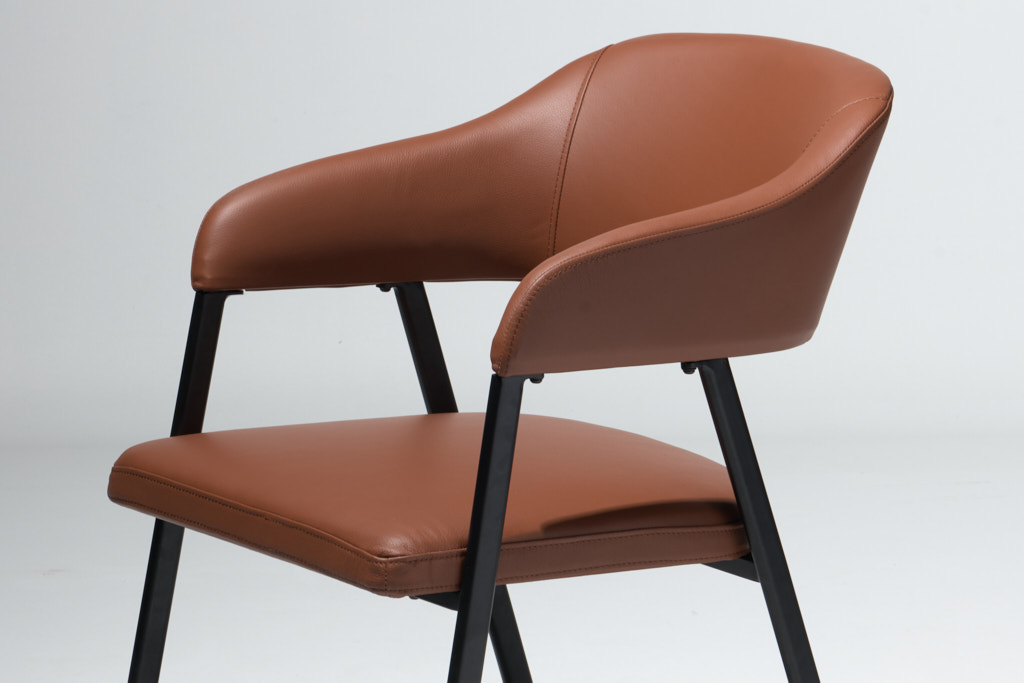
From there, add all the HDR adjustments you want. Color should be much more stable as you manipulate the dynamic range. I made additional edits to show how this workflow almost always falls in-between neutral profiles and super sexy processes that come default.


When in doubt be more scientific than sexy.